
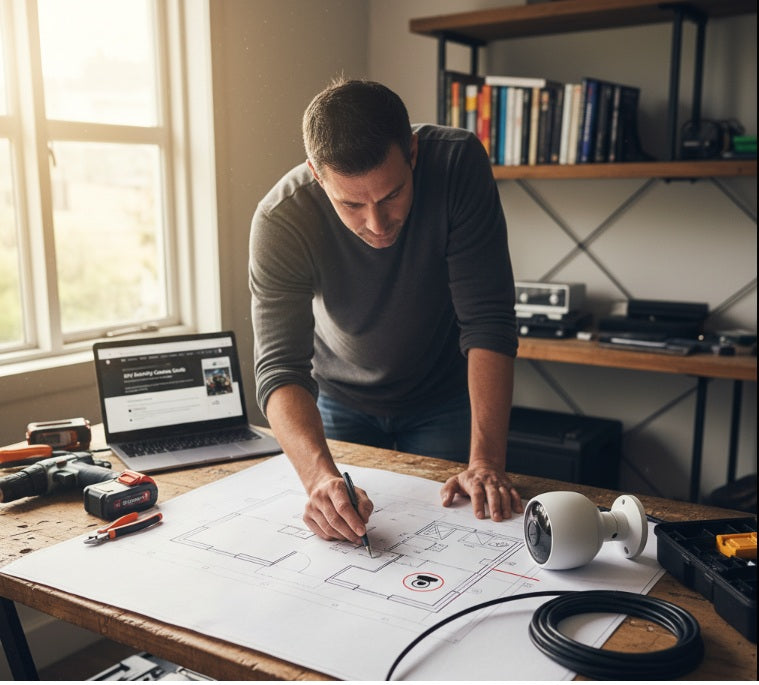
Installing security camera wiring involves running cables from each camera location to your recording device or power source, typically through walls, attics, or along exterior surfaces. Most homeowners can complete basic wired camera installations themselves using the right tools and following proper techniques for drilling, fishing wires, and making secure connections.
Whether you're upgrading your home security or setting up a new surveillance system, understanding how to properly install camera wiring saves you money and gives you complete control over your setup. This guide walks you through everything from planning your wire routes to making final connections.
Ready to tackle your security camera installation? Let's break down the process into manageable steps that anyone can follow.
Understanding Security Camera Wiring Basics
Before you start drilling holes or pulling cables, you need to understand what type of wiring your security cameras require and how power delivery works in different systems.
Types of Security Camera Cables
Security cameras use different cable types depending on the system. The most common options include coaxial cables for analog systems, Ethernet cables (Cat5e or Cat6) for IP cameras, and Siamese cables that combine video and power in one jacket.
Coaxial cables connect traditional analog cameras to DVR systems. These cables carry video signals and sometimes power, depending on your setup. They're sturdy and resistant to interference but can be bulkier than other options.

Ethernet cables work with modern IP camera systems. Cat5e handles most residential needs, while Cat6 offers better performance for longer runs or higher-resolution cameras. These cables can deliver both data and power through PoE (Power over Ethernet) technology.
Siamese cables bundle video and power wires together, making installation cleaner and faster. One side connects to the camera while the other splits to connect to your DVR and power supply.
Power Options for Wired Cameras
Wired security cameras get power through three main methods: direct AC power, PoE, or low-voltage DC power.
AC-powered cameras plug directly into standard electrical outlets. This is the simplest option but limits placement to areas near outlets or requires running electrical wiring, which may need an electrician.
PoE cameras receive both power and data through a single Ethernet cable connected to a PoE switch or injector. This setup reduces cable clutter and simplifies installation since you only run one cable per camera.
Low-voltage DC systems use a centralized power supply box that distributes power to multiple cameras through individual cables. This is common in DVR systems and keeps all power connections in one location for easier troubleshooting.
If you're looking for cameras that work with various power setups, check out our hidden outdoor security camera collection for versatile mounting options.
Tools and Materials You'll Need
Having the right equipment before you start makes the installation process smoother and helps you avoid multiple trips to the hardware store.
Essential Installation Tools
Your basic toolkit should include a power drill with various drill bits, a fish tape or wire pulling tool, a stud finder, a cable tester, wire strippers, and a crimping tool if you're terminating your own cables.
A power drill with masonry bits handles exterior walls, while wood bits work for interior framing. Get a variety of sizes to match your cable diameter and wall material.
Fish tape helps pull cables through walls, attics, and crawl spaces. For shorter runs, a wire coat hanger can work in a pinch, but proper fish tape makes the job much easier.
A stud finder prevents you from drilling into wall studs, pipes, or electrical wiring. This tool is critical for safety and avoiding costly repairs.
Wire strippers and crimpers prepare cable ends for connections. Quality tools make clean cuts and reliable connections that won't fail over time.
Required Wiring Materials
Beyond tools, you'll need the actual cables, connectors, cable clips or staples, weatherproof junction boxes for outdoor connections, and cable pass-through bushings.
Purchase cable with extra length - typically 10-20% more than your measured distance. This gives you room for mistakes and makes future adjustments easier.

Connectors must match your cable type. BNC connectors work for coaxial cables, while RJ45 connectors attach to Ethernet cables. Pre-made cables with connectors already attached save time but limit your flexibility.
Cable management supplies like clips, staples, and conduit keep your installation looking professional and protect wires from damage. Use appropriate fasteners for each surface type.
For outdoor installations, weatherproof boxes protect connections from moisture. Silicone sealant around entry points prevents water infiltration that could damage your system.
Planning Your Camera Wire Routes
Proper planning prevents problems later and ensures your cameras have the cleanest, most reliable connections possible.
Mapping Camera Locations and Wire Paths
Start by marking each camera location with tape or chalk. Measure the distance from each camera to your DVR or NVR location, accounting for the actual path the wire will travel - not just straight-line distance.
Consider obstacles like doorways, windows, and structural elements. Wires running through attics or crawl spaces need different planning than those going through finished walls.
Vertical runs from attic to ground floor are often easier than horizontal runs through multiple wall studs. Plan to use gravity to your advantage when fishing cables.
Exterior walls present unique challenges. You'll need to drill through both interior and exterior surfaces, then seal penetrations against weather. Plan entry points that minimize visible holes and protect wires from the elements.
For cameras in hard-to-reach locations, our 4G security camera outdoor collection offers wireless alternatives that still provide reliable surveillance.
Choosing Between Interior and Exterior Wire Runs
Running wires inside walls provides a clean, professional look but requires more work. Exterior conduit is faster to install but more visible.
Interior routing protects cables from weather and tampering. Fish wires down from the attic or up from the basement, keeping them hidden inside wall cavities. This method works best during construction or renovation.
Exterior conduit mounts directly to your home's outside surface. Use weatherproof PVC or metal conduit rated for outdoor use. While more visible, this approach avoids cutting into finished walls and makes future modifications easier.
Combination approaches often work best. Run cables through the attic or basement, then transition to exterior conduit only where necessary. This balances aesthetics with installation difficulty.
Here's a comparison of routing methods:
|
Routing Method |
Best For |
Difficulty |
Visibility |
Weather Protection |
|
Interior walls |
New construction, renovations |
High |
Hidden |
Excellent |
|
Attic/basement |
Single-story or split-level homes |
Medium |
Hidden |
Good |
|
Exterior conduit |
Retrofit installations |
Low |
Visible |
Excellent with proper sealing |
|
Combination |
Most residential installations |
Medium |
Mostly hidden |
Excellent |
Step-by-Step Wiring Installation Process
Now that you've planned your routes and gathered materials, it's time to actually install the wiring for your security cameras.
Drilling and Creating Wire Entry Points
Start by drilling pilot holes from inside to outside (or vice versa) to ensure accuracy. Use a long drill bit that can penetrate the full wall thickness in one pass.
For exterior walls, drill from inside at a slight downward angle so water drains away from the hole rather than into your wall cavity. This small detail prevents moisture problems.
Mark your drill bit with tape at the correct depth to avoid drilling too far and damaging siding or interior finishes. Drill slowly through different materials - wood, insulation, and exterior sheathing all require different speeds.
After drilling the main hole, use a slightly larger bit to create a chamfer on both sides. This prevents sharp edges from damaging cable insulation as you pull wires through.
Install cable bushings in each hole to protect wires from abrasion and provide a finished appearance. Rubber grommets work well and create a weatherproof seal.
Running and Securing Cables
Feed cables through your drilled holes using fish tape or a wire pulling tool. Work with a helper when possible - one person feeds while the other pulls to prevent cable damage.
Label each cable at both ends before you start pulling. Use tape flags or permanent markers to indicate which camera each cable serves. This simple step saves hours of troubleshooting later.
Pull cables gently but firmly. Excessive force can damage internal wires or pull connectors off pre-made cables. If you encounter resistance, stop and investigate rather than forcing the cable through.
Secure cables every 12-18 inches along the route using appropriate fasteners. For wood surfaces, use insulated staples that won't pierce the cable. On masonry, use cable clips with masonry anchors.
Leave extra cable length at both ends - typically 1-2 feet. This service loop makes future adjustments or repairs easier without requiring new cable runs.
For outdoor cameras, consider our 5G security camera outdoor options that offer advanced connectivity while still benefiting from proper wiring installation.
Making Proper Wire Connections
Strip cable ends carefully, removing only enough insulation to make the connection. Too much exposed wire creates short circuit risks, while too little prevents proper contact.
For Ethernet cables, maintain the twist in wire pairs as close to the connector as possible. Untwisting reduces signal quality and can cause connection problems. Follow the T568A or T568B wiring standard consistently throughout your installation.

Coaxial connections require clean cuts and proper crimping. Push the connector on firmly, then use a crimping tool to secure it. A poorly crimped connector will fail over time or create signal loss.
Power connections should be tight and insulated. Use wire nuts for splices and wrap them with electrical tape for extra protection. Never leave bare wire exposed where it could short circuit.
Test each connection with a cable tester before mounting cameras. Finding problems now is much easier than troubleshooting after everything is installed and sealed.
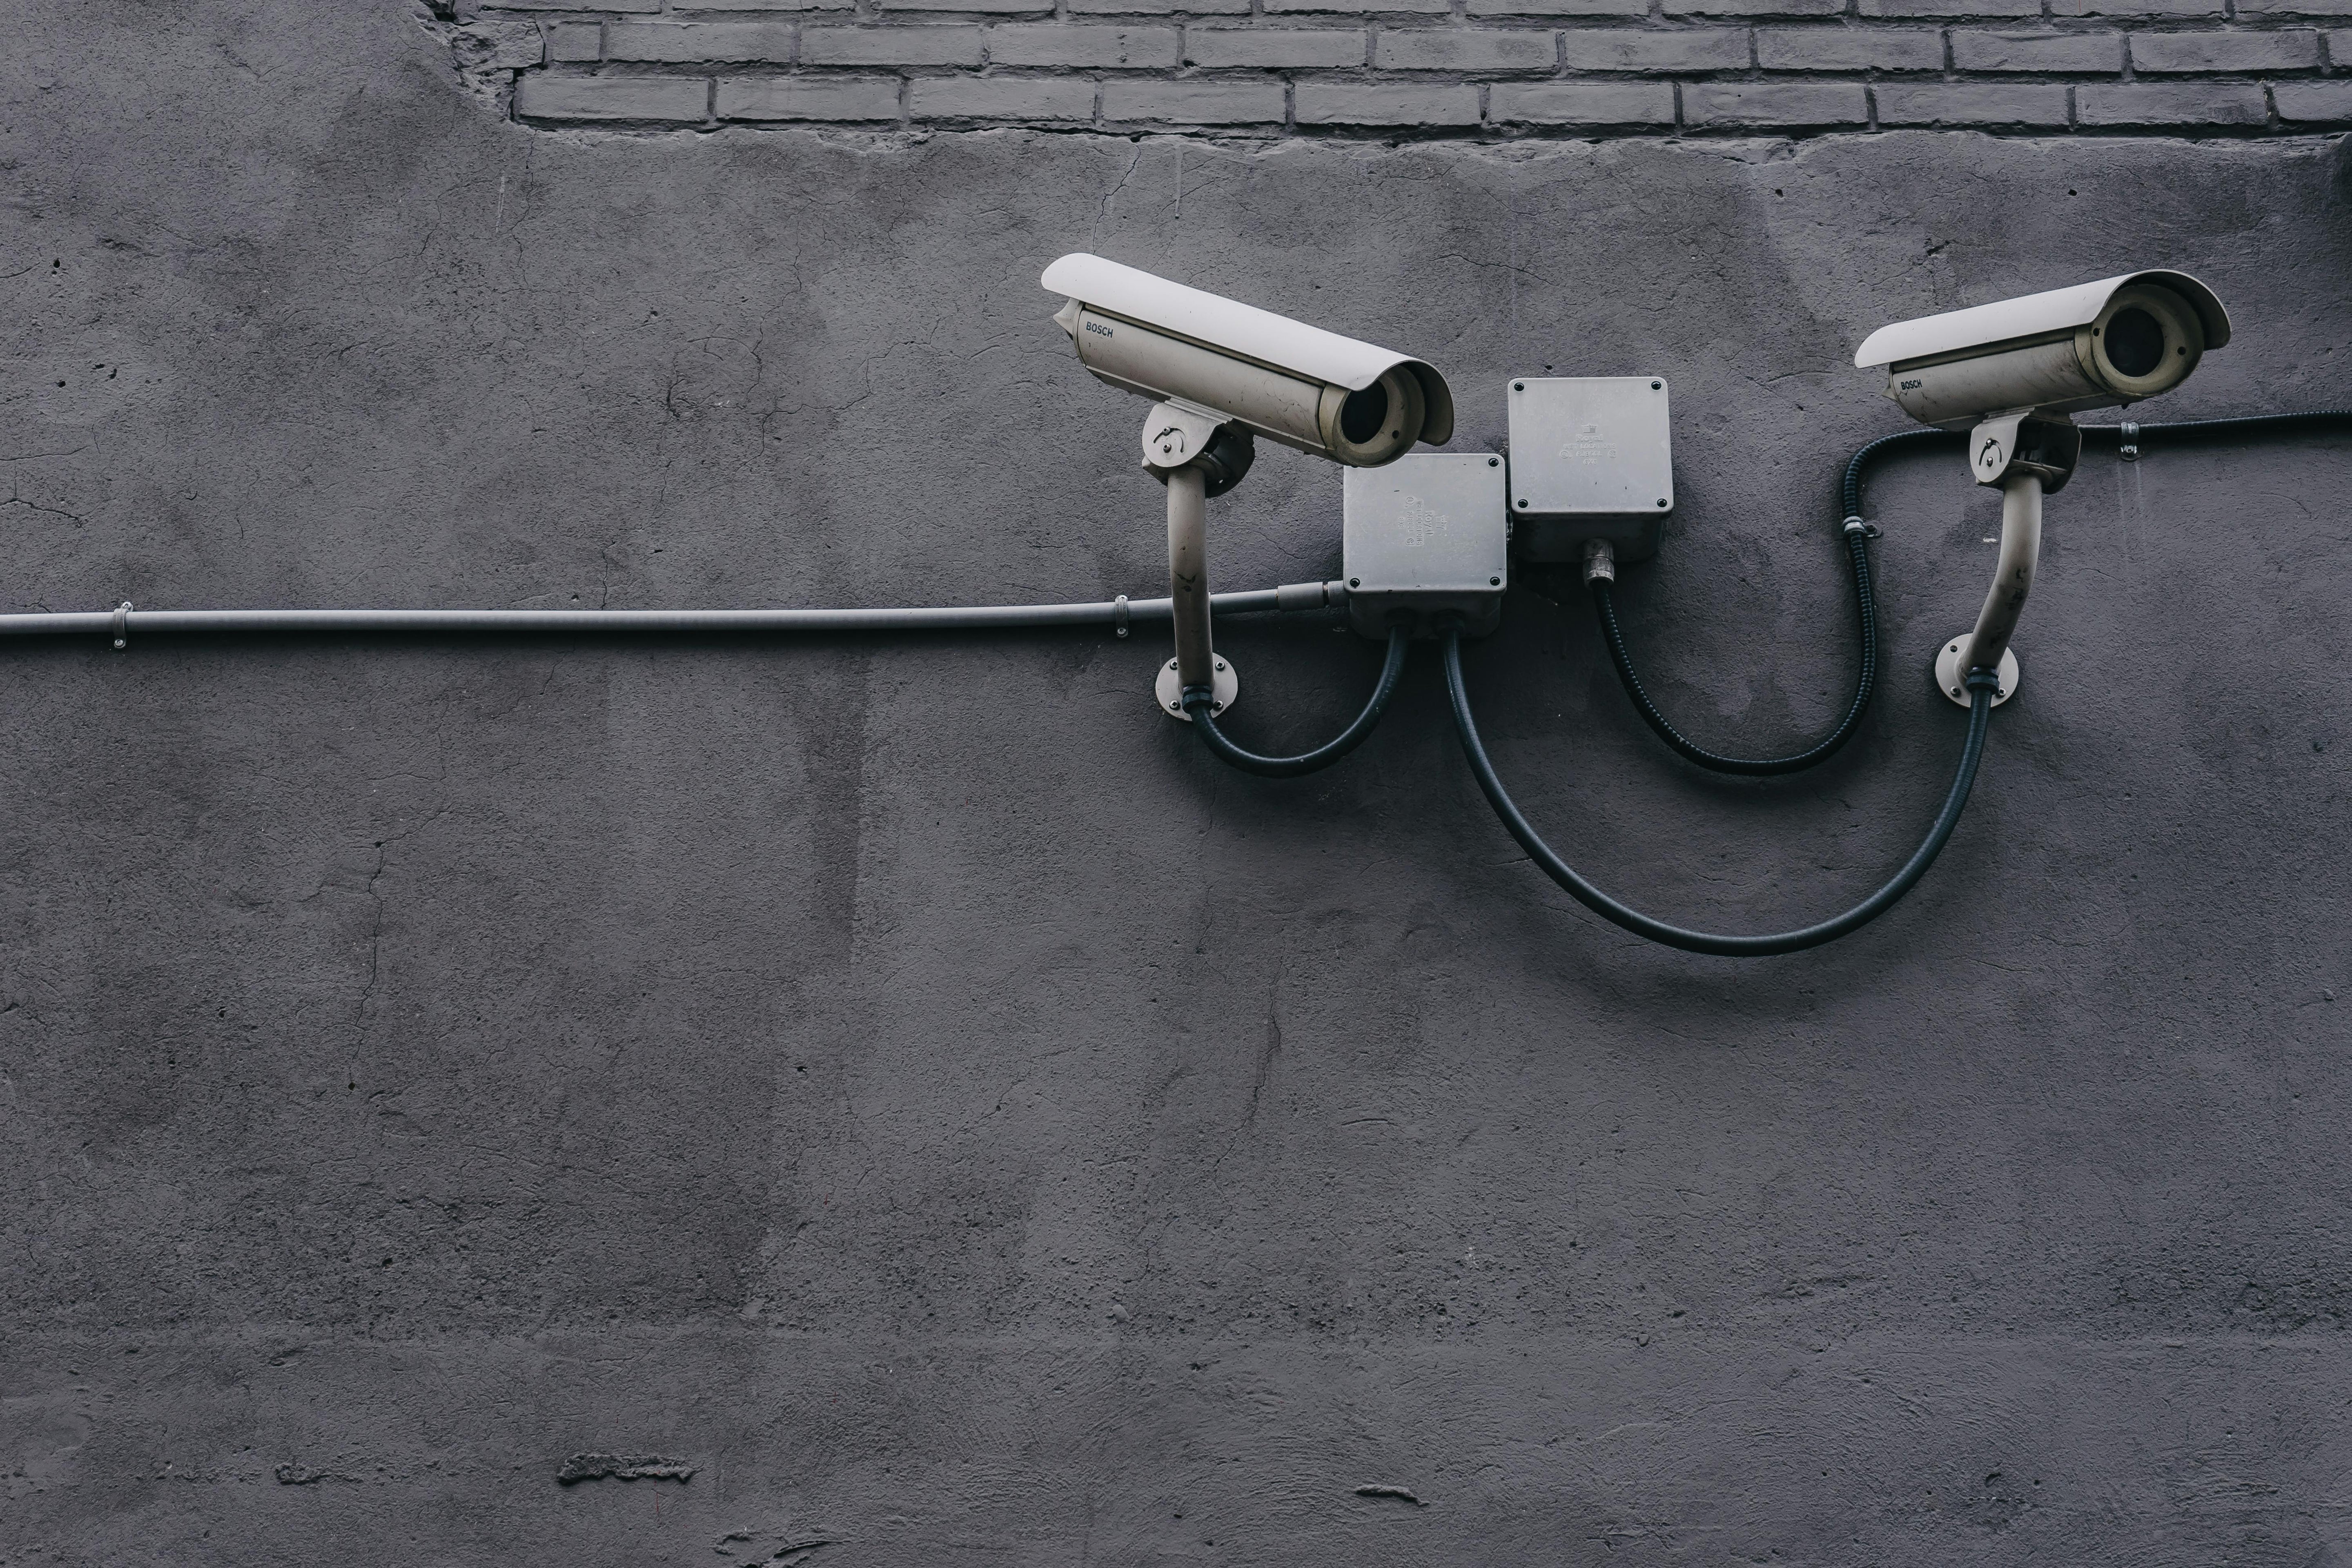
Outdoor Security Camera Wiring Specifics
Outdoor installations face additional challenges from weather, temperature changes, and potential tampering. Proper techniques ensure long-term reliability.
Weatherproofing Your Connections
Every outdoor connection point needs protection from moisture. Even "weatherproof" connectors benefit from additional sealing.
Apply silicone sealant around cable entry points in cameras and junction boxes. Create a drip loop before the connection so water runs off the cable rather than into the connector.
Weatherproof junction boxes house connections and splices. Mount them with the opening facing downward or to the side - never upward where rain can enter. Seal the lid with silicone after making connections.
Use outdoor-rated cable for all exposed runs. UV-resistant jackets prevent sun damage that causes cable brittleness and failure. Direct burial cable works underground without conduit.
Conduit protects cables from physical damage and animals. Secure it firmly to prevent movement that could loosen connections or damage wires. Seal conduit ends where cables enter or exit.
Want to learn more about outdoor camera placement? Check out our guide on how much sunlight does a solar security camera need for optimal positioning tips.
Proper Cable Management for Exterior Runs
Organize exterior cables to minimize visibility while maintaining access for maintenance. Group multiple cables together in conduit rather than running separate lines.
Paint conduit to match your home's exterior. This simple step makes installations much less noticeable. Use exterior-grade paint compatible with your conduit material.
Route cables along existing lines like gutters, trim, or siding seams where possible. This camouflages the installation and looks more intentional than cables crossing open wall spaces.
Create expansion loops in long cable runs to accommodate thermal expansion and contraction. Without these loops, cables can pull tight in cold weather and damage connections.
Mount cameras with our security camera motion detection collection for smarter surveillance that maximizes your wiring investment.
Connecting to Your Recording Device
After running all your cables, the final step is connecting everything to your DVR, NVR, or computer system.
Organizing Cables at the DVR/NVR
Group cables neatly as they enter your recording area. Use cable ties or Velcro straps to bundle them together, but don't overtighten - this can damage cables.
Label every connection at the recorder end. Use the same labeling system you used at the camera end so you can easily identify which input corresponds to which camera view.
Leave enough slack behind your recorder for easy maintenance. You should be able to disconnect and pull the unit forward without disconnecting cables or straining connections.
Cable management panels or brush plates provide a clean entry point through walls or racks. These protect cables and create a professional appearance.
Consider this comparison of recorder connection methods:
|
Connection Type |
Cable Used |
Max Distance |
Power Delivery |
Best For |
|
BNC (Coaxial) |
RG59/RG6 |
300-500 feet |
Separate power required |
Analog DVR systems |
|
PoE (Ethernet) |
Cat5e/Cat6 |
300 feet |
Power + data in one cable |
IP camera systems |
|
HDMI |
HDMI cable |
50 feet |
Monitor connection only |
Display output |
|
USB |
USB cable |
15 feet |
Some power capability |
Computer-based systems |
Testing Your Complete System
Before sealing walls or cleaning up, verify every camera displays properly on your monitor. Check both live view and recording functions.
Test motion detection by walking in front of each camera. Verify recordings trigger correctly and save to your storage device.
Check night vision by covering the camera lens or waiting until dark. Infrared LEDs should activate, and you should see a clear image despite low light.
Verify remote access if your system supports it. Make sure you can view cameras from your phone or computer before considering the installation complete.
If you encounter detection issues, our guide on security camera doesn't detect SD card covers common troubleshooting steps.
Common Installation Challenges and Solutions
Even with careful planning, you'll likely encounter obstacles during installation. Here's how to handle the most common issues.
Dealing with Wire Length Limitations
If your measured distance exceeds cable length limits, you have several options. For coaxial systems, use video amplifiers every 300-500 feet. Ethernet systems can use PoE extenders or network switches.
Plan junction points at accessible locations like attics or basements. This lets you split long runs into manageable segments without compromising signal quality.
Never splice coaxial cables mid-run - this creates signal loss and interference. If you must extend a cable, use proper barrel connectors and keep the extension as short as possible.
For IP cameras, network switches can extend your range effectively. Place a switch at the halfway point in long runs to boost signal strength for the remaining distance.
Working Around Obstacles and Structural Elements
Sometimes your planned route hits an unexpected obstacle like a fire block, duct, or existing wiring. Stay flexible and have backup routes in mind.
Horizontal obstacles often require fishing wires around rather than through them. Use flexible drill bits or right-angle adapters to navigate tight spaces.
Go over or under major obstructions when possible. Running cable through the attic and then down to cameras avoids obstacles in wall cavities.
Change entry points if your first choice proves too difficult. Moving a camera a few feet can sometimes eliminate hours of frustration fighting with wall cavities.
For less invasive options, explore our best wireless outdoor security camera guide for alternatives to extensive wiring.
Professional vs DIY Installation
Understanding when to tackle wiring yourself and when to call an expert helps you make the best decision for your situation and budget.
When to Consider Professional Help
Complex installations benefit from professional experience. Multi-story homes, systems with many cameras, or installations requiring electrical work often justify hiring help.

Licensed electricians should handle any work involving your home's electrical system beyond simple plug-in connections. They ensure code compliance and prevent fire hazards.
Professional installers work faster and have specialized tools for difficult jobs. They also typically warranty their work, giving you recourse if problems develop.
Time considerations matter too. If the job seems overwhelming or you lack the time to do it properly, professional installation provides peace of mind.
Cost Savings of DIY Installation
Installing your own camera wiring can save hundreds to thousands of dollars compared to professional installation. Basic systems might cost $200-500 for professional installation per camera, while DIY costs cover only materials.
Material costs for a typical 4-camera system run $100-300 including cables, connectors, and mounting hardware. Professional installation of the same system might cost $800-2000 total.
Skill building provides long-term value. Once you understand the basics, adding cameras or troubleshooting problems becomes much easier.
Customization is easier when you do it yourself. You can take time to route cables exactly where you want them and make changes without paying hourly rates.
Learn about other security options by reading our article on best outdoor security cameras without subscription for budget-friendly alternatives.
Wrapping Up Your Installation
Installing security camera wiring yourself is absolutely achievable with proper planning, the right tools, and patience. By understanding cable types, planning efficient routes, and following proper installation techniques, you can create a professional-quality surveillance system that protects your property for years to come.
The key to success lies in careful preparation and attention to detail during each step. Take your time measuring and planning routes, invest in quality materials, and don't rush the actual installation. Test everything thoroughly before sealing walls or considering the job complete.
Whether you're securing a small home or a larger property, the skills you've learned here will serve you well. Start with a simple installation to build confidence, then expand your system as needed. Your DIY security camera wiring project will save you money while giving you complete control over your home security setup.
Frequently Asked Questions
What is the best way to run wires for security cameras?
The best way to run wires for security cameras is through interior wall cavities, attics, or basements to keep them hidden and protected. Use fish tape to pull cables through walls, drill at slight downward angles for exterior penetrations, and secure cables every 12-18 inches with appropriate fasteners. Always leave extra cable length at both ends for future adjustments.
Can I install wired security cameras myself?
Yes, most homeowners can install wired security cameras themselves with basic tools and careful planning. The process involves drilling holes, running cables, and making connections - all tasks that don't require specialized skills. However, any work involving your home's electrical system beyond simple plug-in connections should be handled by a licensed electrician.
Do you need an electrician to install wired security cameras?
You don't need an electrician for basic wired camera installation if you're using plug-in power or PoE systems. However, if your installation requires running new electrical circuits, working inside electrical panels, or hardwiring cameras to your home's electrical system, you should hire a licensed electrician to ensure safety and code compliance.
How are home security cameras wired?
Home security cameras are wired using coaxial cables for analog systems or Ethernet cables for IP cameras. Cables run from each camera to a central recording device (DVR or NVR), carrying video signals and sometimes power. Some systems use Siamese cables that combine video and power in one jacket, while PoE systems deliver both power and data through a single Ethernet cable.
How do you install wired outdoor security cameras?
To install wired outdoor security cameras, drill weatherproof entry points at downward angles, run outdoor-rated cables through conduit or protected pathways, and seal all penetrations with silicone. Mount cameras securely, create drip loops in cables before connections, use weatherproof junction boxes for splices, and test the system before finalizing the installation.
How do wired security cameras get power?
Wired security cameras get power through three main methods: AC power from standard electrical outlets, PoE (Power over Ethernet) which delivers power through the data cable, or low-voltage DC power from a centralized power supply box that distributes to multiple cameras. The power method depends on your camera model and system type.