
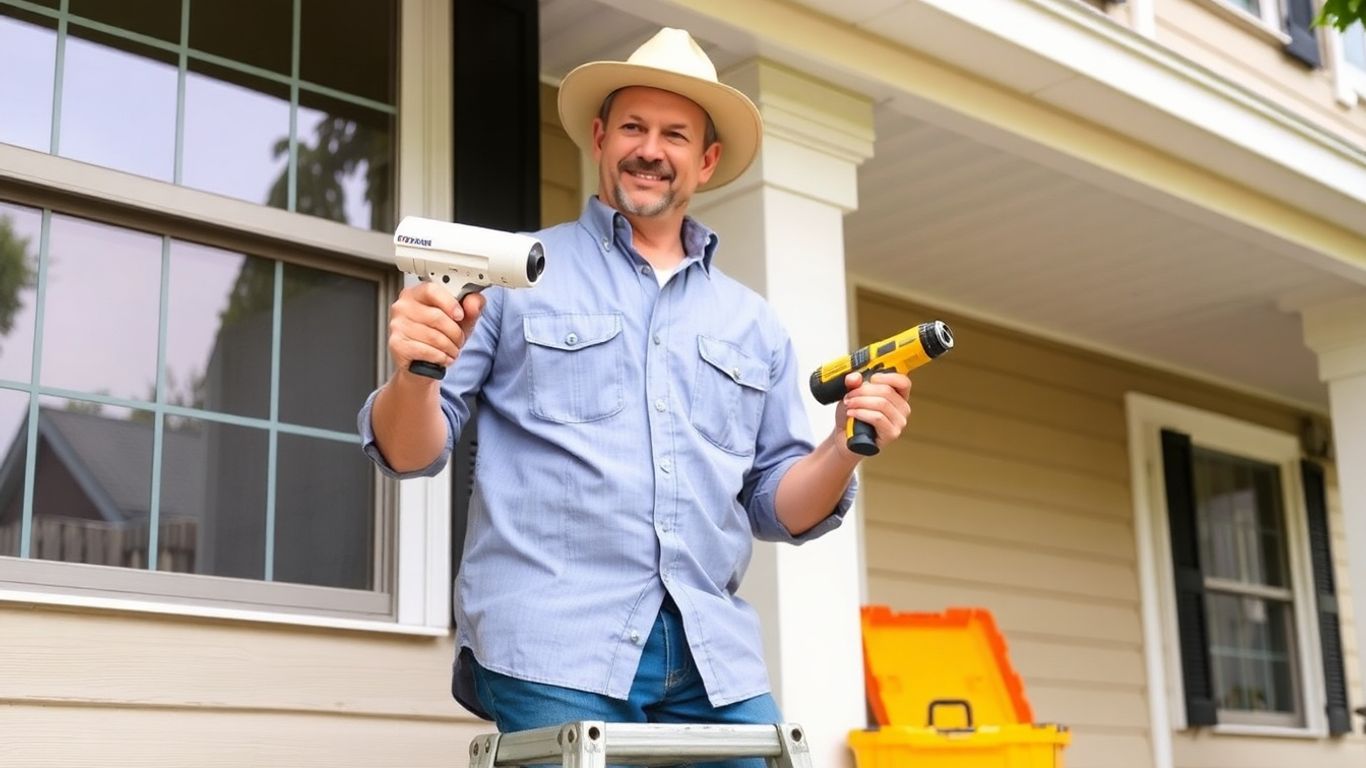
You’ve seen the cameras on your neighbour’s place and heard the stories, and now you’re wondering if a house CCTV system is the right move for your home. The short answer? Absolutely, and for more reasons than just catching burglars. This guide will walk you through everything, from the techy bits to the practical, everyday peace of mind that comes with a good setup. We’ll explore how to install security cameras effectively, making sure your home is protected.
Key Takeaways
- Planning is key: Do a sun audit and identify your main surveillance zones before buying anything.
- Professional installation offers benefits like smart placement, proper weatherproofing, and network security.
- DIY installation is doable with careful planning, focusing on mounting cameras and solar panels correctly.
- Understand camera features like resolution (HD vs 4K) and night vision to match tech to your needs.
- Regular, simple maintenance like cleaning lenses and checking recordings keeps your system working reliably.
Planning Your Perfect Surveillance Setup
Right then, before you go buying a stack of gear, let's have a proper think about what you actually need. It’s not just about sticking cameras everywhere; it’s about being smart with it. A bit of planning now saves a heap of hassle later, trust me.

Conducting Your Sun Audit
If you're going solar, and let's be honest, most of us are these days, then sunlight is your best mate. You need to figure out where you're going to get the most juice for your batteries. In Australia, this means thinking about where the sun actually is throughout the day, especially during winter when it sits lower. Don't just plonk a panel on the first sunny wall you see. Spend a day, or even a few hours, just watching your place. See which spots get direct sun from morning till afternoon. Remember, panels in the Southern Hemisphere generally need to face north for the best exposure.
- North-facing is key: Aim for spots that get direct sun from around 9 am to 3 pm.
- Watch for shade: Trees, buildings, even your own roof can cast shadows. Check these throughout the day.
- Winter sun matters: The sun is lower in winter, so a spot that's sunny in summer might be shady in July.
You're basically playing detective, figuring out the sun's daily path across your property to make sure your cameras don't run out of puff.
Identifying Key Surveillance Zones
Think about the most likely ways someone might try to get into your place. It’s not about making it look like Fort Knox, but covering the main entry points and areas where someone might try to sneak around. You want to cover the usual suspects first.
- Front door and porch: This is usually the first point of entry.
- Back door and yard: Often less visible, so a good spot to check.
- Driveway and garage: Especially if you keep valuables there.
- Side gates and pathways: Any access points around the house.
- Vulnerable windows: Ground-floor windows, particularly those out of sight.
Matching Tech To Your Specific Needs
Okay, so you know where you want cameras. Now, what kind? It’s not a one-size-fits-all deal. You’ve got different focal lengths, resolutions, and features to consider. For instance, a wide-angle lens (like 2.8mm) is great for covering a whole yard, but if you need to see details on a driveway from further away, you might want something with a narrower view, like 12mm. It’s all about what you want to see.
|
Area to Cover |
Recommended Focal Length |
Why? |
|
Front Door/Porch |
2.8mm - 4mm |
Wide view to capture visitors and activity |
|
Driveway (distance) |
6mm - 12mm |
Narrower view for detail from afar |
|
Backyard/Yard |
2.8mm - 4mm |
Broad coverage of open spaces |
The Importance Of Professional Installation
Look, we all love a good DIY project, right? Saving a few bucks and getting that satisfaction of doing it yourself. But when it comes to security cameras, especially here in Australia where the weather can be a bit wild, there's a lot to consider. Getting it done right the first time is way better than fixing it later.
Expertise In Strategic Placement
Sure, you can stick a camera up anywhere, but a pro knows where to put them for the best view. They’ll think about things like where the sun hits at different times of the day, so you don't get blinding glare, and they’ll make sure there aren't any sneaky blind spots where someone could hide. It’s about maximising coverage and making sure your cameras actually see what they’re supposed to. For businesses, this strategic placement is key to deterring unwanted activity and keeping things safe [0cf5].
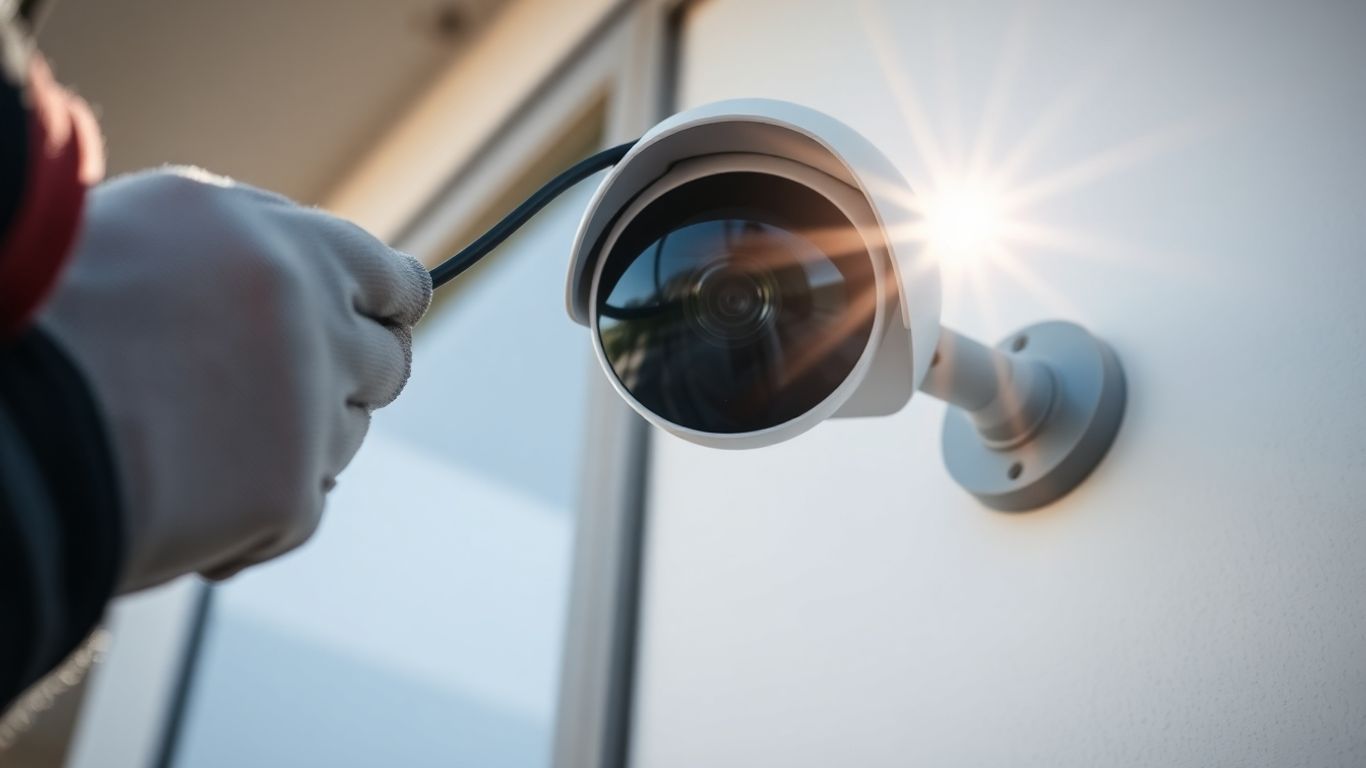
Ensuring Proper Weatherproofing
This is a big one, especially with our Aussie conditions. A professional installer knows how to seal up all the outdoor connections properly. We’re talking about making sure they can handle scorching heat, heavy rain, and everything in between. Using the right connectors and making sure everything is watertight stops those annoying failures that can leave you exposed.
Securing Your Network Against Intruders
Your cameras are connected to your home network, and that means they can be a target for hackers if not set up correctly. A professional installer will make sure your system is properly configured and secured. This means changing default passwords, setting up strong network security, and generally making it much harder for anyone dodgy to get access to your footage or even your home network.
Trying to cut costs by doing it all yourself might seem smart, but if a storm fries your system or a hacker gets in, you'll likely spend more fixing it than you would have paid a pro in the first place. It's about reliability and peace of mind.
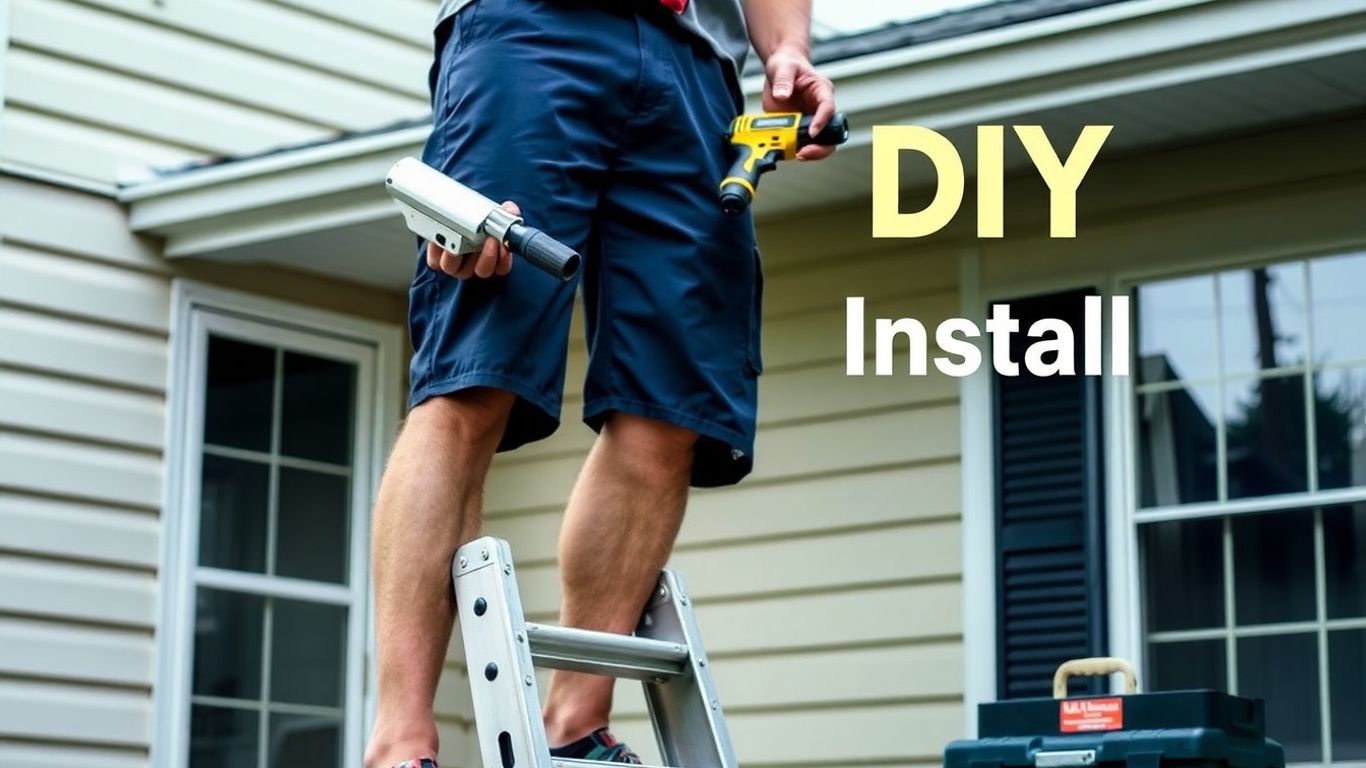
DIY Installation: A Step-By-Step Guide
So, you’ve done the hard yards—you’ve planned your layout, picked the perfect gear, and now it’s time for the fun part. Installing your new solar powered security camera system isn’t some complex task reserved for tech wizards. Think of it as a satisfying weekend project that gives you a real sense of accomplishment. Let’s walk through a typical DIY setup, from unboxing the gear to seeing that crisp, live feed pop up on your phone. It’s like adult LEGOs, but a whole lot more useful.
Kicking Off Your DIY Installation
First thing’s first: find a good spot. Remember all that sun-auditing work you did earlier? This is where it pays off. You’ll be mounting two key pieces of hardware: the camera itself and its trusty solar panel. While they don’t have to be in the exact same spot, the panel’s cable needs to comfortably reach the camera. Getting this step right is non-negotiable.
Here’s a quick rundown of the usual steps:
- Mount the Camera: Pick your ideal vantage point and securely fix the camera mount to a wall, eave, or pole. Most kits come with a handy drilling template to make this bit foolproof. Just make sure it’s high enough to get a great view and stay out of easy reach.
- Mount the Solar Panel: This is the most critical step. Using your phone’s compass, find a solid, north-facing spot that gets heaps of sun. Secure the panel’s bracket, attach the panel, and angle it to catch the most rays throughout the day.
- Connect and Tidy Up: Now, run the cable from the panel to the camera and plug it in. Use a few cable clips to tack the wire neatly along the wall—nothing looks worse than a droopy, dangling cable. It’s a small detail that makes the whole job look pro.
- Power Up and Connect to Wi-Fi: Once everything is physically installed, just follow the app’s instructions to link the camera to your home Wi-Fi network. This usually just involves scanning a QR code and punching in your password. Within minutes, you should have a live video feed right there on your phone. For a more detailed walkthrough on camera placement and wiring techniques, our guide on how to install security cameras provides some excellent tips that apply here too.
Remember, even though you're doing it yourself, some areas might have regulations about data cabling. It's always a good idea to check local rules, as you might still need a qualified person for certain parts of the setup, especially if you're running cables through walls or ceilings.
Understanding Key Camera Features
Choosing the right security camera can feel a bit overwhelming with all the tech jargon out there. But really, it boils down to a few main things that make a big difference in what you can actually see and how useful the footage is. Let's break down what you need to know.
Resolution: HD Versus 4K Clarity
When you're looking at cameras, resolution is one of the first specs you'll see. Think of it like the number of pixels in a photo – the more pixels, the sharper and more detailed the image.
- HD (1080p): This is your standard, everyday resolution. It's perfectly fine for most home uses, like seeing who's at the door or keeping an eye on the kids playing in the backyard. You'll get a clear picture, but trying to read a license plate from across the street might be a struggle.
- 4K (Ultra HD): This is a massive jump up. It offers four times the detail of HD, meaning you get a much sharper, clearer image. This is brilliant if you need to cover a large area or if you really need to zoom in on details, like identifying a car's make and model or a person's face from a distance. If you need to capture fine details, 4K is definitely the way to go.
Night Vision Capabilities
What happens when the sun goes down? That's where night vision comes in. Most cameras use infrared (IR) technology, which shows you a black-and-white image.
- Infrared (IR): This uses invisible infrared lights to illuminate the scene, allowing the camera to see in the dark. It's effective and doesn't use much power. The image is usually black and white.
- Colour Night Vision: Some newer cameras have built-in spotlights that turn on when they detect motion. This allows them to record in full colour, even at night. This can be super helpful for spotting details like the colour of a car or someone's clothing, which can be vital for identification.
For general security, IR is usually fine. But if you're monitoring a spot where identifying specific details at night is important, colour night vision is a big plus.
The Role Of Artificial Intelligence
This is where cameras are getting really smart. Forget those old systems that would send you an alert every time a leaf blew past. Modern cameras use AI to be much more selective.
- Basic Motion Detection: These cameras detect movement, but they can often be set off by things like pets, passing cars, or even strong winds.
- Person/Vehicle Detection: This is a game-changer. AI-powered cameras can actually tell the difference between a person, a car, and, say, your dog. This means you only get alerts for events that are actually relevant to your security, saving you a lot of unnecessary notifications.
The smarter the detection, the less time you'll spend sifting through false alarms. It's all about getting alerts that actually matter for your peace of mind.
Your Super-Simple Maintenance Checklist
Right then, so your cameras are all set up and doing their thing. That's the hard yakka done, but like anything, they need a bit of a look-over now and then to keep them in top nick. It’s not a massive job, honestly, just a few quick things to make sure everything’s running smoothly and you’re not missing anything important. Think of it like giving your ute a quick wash or checking the oil – keeps it from turning into a bigger drama down the track.
Give the Lenses a Wipe
This is probably the most obvious one. Dust, cobwebs, maybe a bit of bird droppings – they all love to stick to camera lenses. A quick wipe with a soft microfibre cloth every couple of months can make a world of difference to your picture quality. You don't want to be reviewing footage and finding out the bloke who nicked your garden gnome is just a blurry smudge because the lens was dirty. If it’s really grubby, a tiny bit of water or lens cleaner on the cloth is fine, just don't go spraying stuff directly onto the lens, eh?
Do a Quick Recording Check
Once a month, just log into your system and have a squiz at the recordings. Pick a couple of cameras and watch a few seconds of footage. Are they all recording? Is the video clear? Are they saving properly? It’s a simple way to catch any glitches early on. You don't want to find out your system wasn't actually recording when you actually need it most. It’s a bit like checking your phone’s storage – you just want to know there’s space.
Don’t Ignore Software Updates
Your cameras and their recording system probably have software, and like any software, it needs updates. These aren't just for adding fancy new features. Often, they include important security patches that protect your system from new online threats. If you get a notification saying there’s an update available, it’s best to get it done. It usually doesn’t take long, and it’s a good way to keep your system secure and running efficiently.
Keeping your security cameras maintained doesn't need to be a chore. A little bit of regular attention means your system will be reliable when you need it, giving you peace of mind.
The True Cost Of Cutting Corners
Look, we all like a good bargain, right? Grabbing a cheap security camera kit from the big box store feels like a win. You think you're saving a few bucks and getting the job done yourself. But here's the thing, mate, when it comes to security, that initial saving can cost you a lot more down the track.
Why Cheap Kits Often Fail
It’s easy to get caught out by those budget kits. They might look the part, but often the quality just isn't there. Think about it: grainy footage that makes it impossible to identify anyone, cameras that give up the ghost after the first proper downpour, or network connections that are weaker than a politician's promise. You might save fifty bucks upfront, but if that camera can't give you clear evidence when something actually happens, what was the point?
The Value Of Reliable Footage
This is where you really see the difference. Having footage that's clear, sharp, and properly angled is what security cameras are all about. It's not just about having a camera; it's about having a tool that works when you need it most. Whether it's catching a package thief or providing evidence for the coppers, you want that footage to be usable. Clear, reliable video is the real payoff for your security system.
Budgeting For Quality Installation
When you're planning your setup, don't just think about the cameras themselves. You've got to factor in the whole shebang:
- The Cameras: Quality optics and sensors cost more.
- The Recorder: A decent NVR or DVR is needed to store footage.
- Storage: You'll need a hard drive for recordings.
- Cabling & Connectors: Proper, weather-sealed connections are vital.
- Professional Installation: This covers expert placement, secure wiring, and network setup.
Trying to do it all yourself with cheap gear might seem like a good idea at the time, but it often leads to frustration and systems that just don't perform when it counts. It's better to get it done right the first time.
Wrapping It Up: Your Home, Secured
So there you have it, cobber. You’ve planned your layout, picked your gear, and hopefully, you’re feeling a lot more confident about getting your security cameras sorted. Whether you’ve gone the DIY route or decided to get a pro on board, the main thing is that your home is now better protected. Remember, a little bit of upkeep goes a long way, so give those lenses a wipe now and then and check your recordings. It’s not rocket science, but it makes a heap of difference. Now you can relax a bit easier, knowing your place is watched over, just like a true Aussie should.
FAQ
Can I install home security cameras myself?
Yes, you can! Many modern home security cameras are designed for DIY installation, especially wireless ones. Most come with step-by-step instructions, and you usually just need a few basic tools. If you’re comfortable setting up Wi-Fi devices, you’ll likely find the process straightforward.
How do I run power to my wireless security camera?
Wireless cameras still need power, but you’ve got options. Some use rechargeable batteries (often paired with solar panels for convenience), while others plug into a standard outlet. If you don’t want visible wires, you can hide the cord along walls or use cable covers for a cleaner look.
What is required to install security cameras?
At minimum, you’ll need the camera itself, a power source (battery, solar, or outlet), and a stable internet connection if the camera is Wi-Fi enabled. A drill or mounting kit might also be required, depending on where you place it.
How to install wireless security cameras outdoor?
Outdoor installation is simple: choose a spot with a clear view and strong Wi-Fi signal, mount the camera securely, and make sure it’s sheltered from direct weather exposure if possible. Many outdoor cameras are weather-resistant, so they can handle rain and sun without issue.
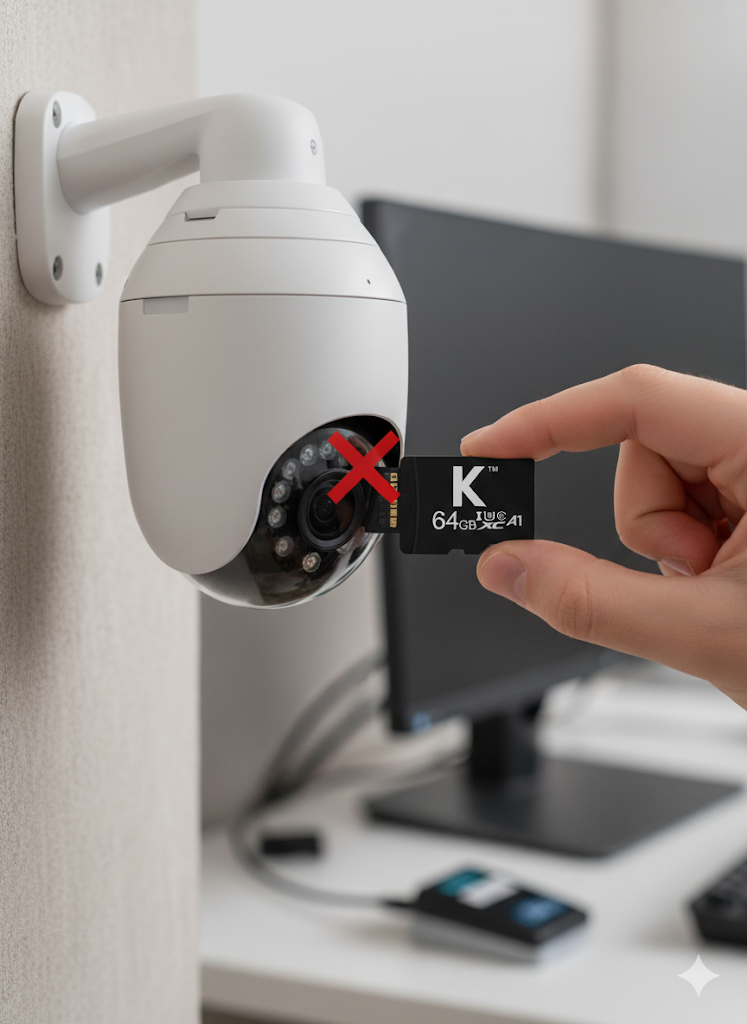
Do all outdoor security cameras require Wi-Fi?
Not always. Some outdoor cameras work with cellular data (using a SIM card), and others record locally to a memory card. Wi-Fi cameras are the most common, but you do have alternatives if your home has poor internet coverage.
How do you install outdoor cameras without drilling holes?
If you’d rather not drill, you can use adhesive mounts, magnetic bases, or gutter mounts. These let you secure the camera without damaging walls or siding. Just make sure the camera is stable enough to handle wind and weather.
Do you need to punch holes in the house for outdoor camera wires?
Not necessarily. Wireless cameras often don’t need any holes at all, especially if they’re battery- or solar-powered. For wired systems, you may need to run a cable indoors, but you can often route wires through existing openings or use weatherproof cable covers to avoid drilling directly into your house.
