
Wondering where to place security cameras to maximize your home's protection? The right camera placement can mean the difference between capturing crucial evidence and missing important activity entirely. Whether you're securing entry points, monitoring blind spots, or deterring potential intruders, strategic positioning is everything.
Unlike randomly mounting cameras wherever convenient, proper security camera placement involves understanding sight lines, avoiding common mistakes, and covering vulnerable areas effectively. That makes it essential knowledge for homeowners, renters, and business owners alike.
In this guide, we'll explain where to place security cameras for optimal coverage, what locations to avoid, and how to create a comprehensive security system that actually works.
Protect what matters most with professional-grade equipment. Shop our security surveillance camera collection for complete coverage solutions.
What Is Strategic Security Camera Placement
Strategic security camera placement means positioning your cameras where they'll be most effective at monitoring activity, deterring crime, and capturing clear evidence. It's about understanding your property's unique layout and vulnerabilities rather than simply mounting cameras wherever they fit.
The goal isn't just to have cameras—it's to have them in the right spots doing the right job.
Basic Principles of Camera Positioning
Smart camera placement follows several key principles that security professionals use. These guidelines help ensure your cameras actually enhance your security rather than just creating a false sense of protection.
Coverage over quantity is the first rule. Three well-placed cameras often provide better security than six poorly positioned ones. Focus on areas where people must pass through rather than trying to monitor every square inch.
Height and angle matter significantly. Cameras mounted 8-10 feet high are difficult to tamper with while still capturing facial features. Too high, and you'll only see the tops of heads. Too low, and they become easy targets for vandalism.
Lighting conditions affect everything. Consider how shadows, backlighting, and darkness will impact image quality at different times of day. The best camera placement accounts for these changing conditions.
Key Areas That Need Camera Coverage
Every property has natural choke points and vulnerable areas that criminals typically use. Understanding these spots helps you prioritize camera placement for maximum effectiveness.
Entry points like front doors, back doors, and first-floor windows are obvious priorities. These locations capture anyone attempting to enter your property and provide the clearest facial shots.
Driveways and walkways force visitors to pass directly in front of cameras. This creates natural surveillance zones where you can monitor both expected guests and unwanted visitors.
Blind spots around your property often become security weaknesses. Areas hidden from street view, side yards, and spaces behind large bushes or structures need attention to prevent criminals from using them as staging areas.
Indoor vs Outdoor Placement Strategies
Indoor and outdoor cameras serve different purposes and face different challenges. Understanding these differences helps you choose the right equipment and positioning for each environment.
Outdoor cameras must handle weather, lighting changes, and potential vandalism. They work best when monitoring perimeter areas, entry points, and high-traffic zones. Weather-resistant housings and night vision capabilities become essential.
Indoor cameras focus on monitoring interior spaces when you're away, checking on family members, or watching for break-ins that outdoor cameras miss. They can use existing lighting and don't need weatherproofing, but privacy considerations become more important.
Best Locations for Security Camera Placement
The most effective security systems focus on strategic locations that provide maximum coverage with minimal blind spots. These key areas form the foundation of any comprehensive home security setup.
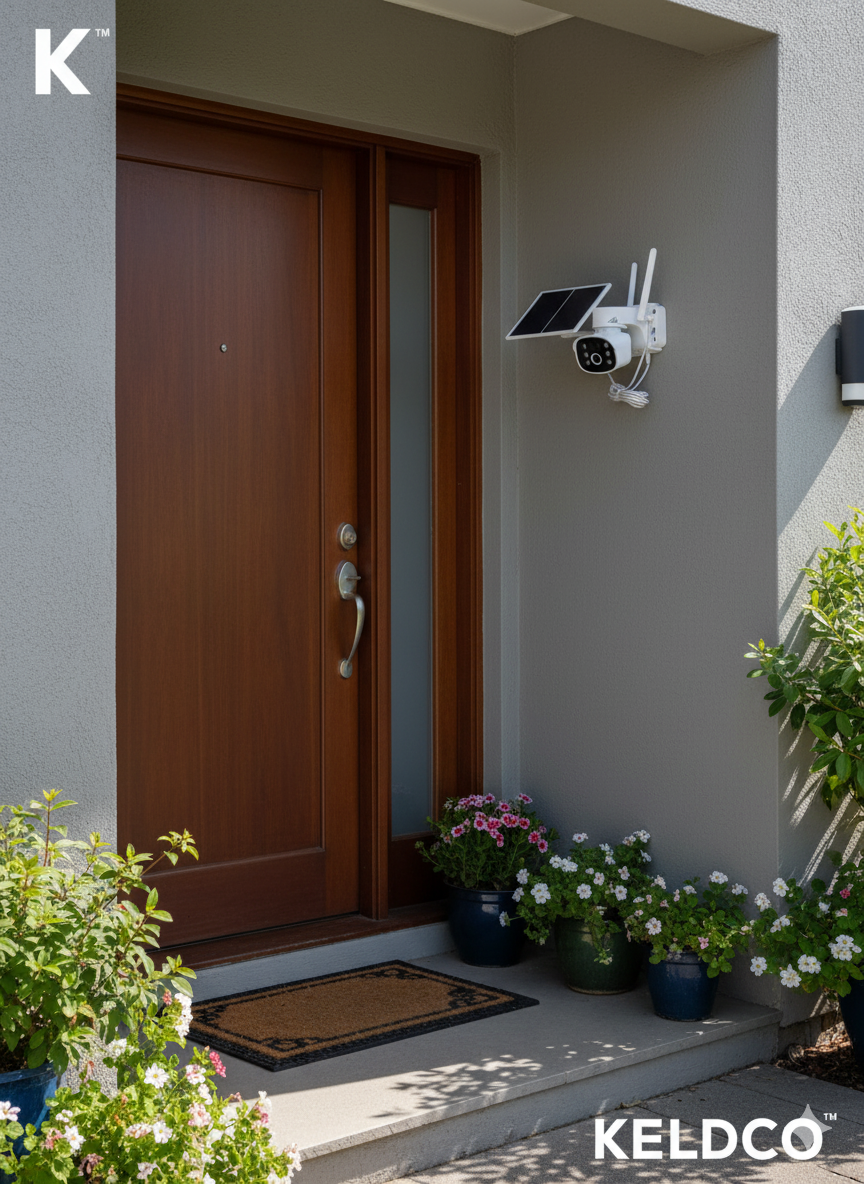
Front Door and Main Entrance Security
Your front door is the most critical location for camera placement. Statistics show that 34% of burglars enter through the front door, making this your highest-priority surveillance point.
Position cameras to capture faces clearly as people approach. Mount the camera 7-9 feet high at an angle that shows both the person's face and their full body. This height prevents tampering while maintaining good image quality.
Doorbell cameras offer an excellent front door solution. They provide two-way communication, motion detection, and are positioned at the perfect height for facial recognition. Many models integrate with existing doorbells for easy installation.
Consider the field of view when positioning front door cameras. You want coverage of the immediate entrance area, the approach path, and any nearby windows or side doors that could provide alternative entry points.
Discover smart doorbell options and traditional cameras perfect for front door monitoring in our indoor home security cameras collection.
Backyard and Rear Access Points
Back doors and rear entrances are the second most common entry point for burglars. These areas often have less natural surveillance from neighbors and streets, making camera coverage essential.
Sliding glass doors present unique security challenges. Their large surface area and common placement in secluded back yards make them attractive to intruders. Position cameras to monitor both the door itself and the surrounding patio area.
Garden areas and sheds can hide criminal activity or provide tools for break-ins. Cameras covering these spaces should have good night vision capabilities since most criminal activity occurs after dark.
Motion-activated lighting paired with cameras creates an effective deterrent system. When movement triggers both lights and recording, it often causes intruders to flee immediately.
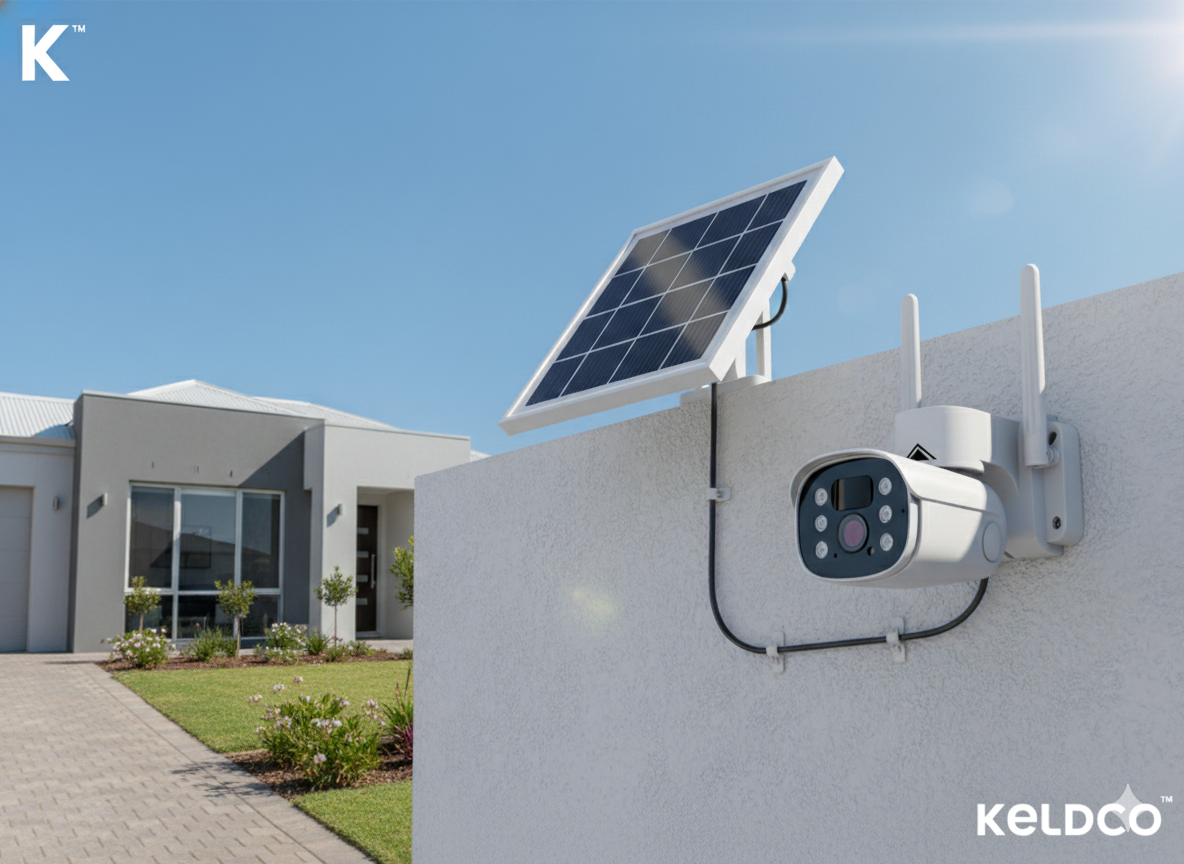
Driveway and Vehicle Protection
Driveways serve as natural monitoring corridors that capture activity before it reaches your home. Camera placement here provides early warning and evidence of suspicious activity.
Vehicle protection requires cameras positioned to monitor both your cars and anyone approaching them. Car break-ins, vandalism, and theft attempts are common, especially in properties without visible security measures.
Gate and fence line coverage helps monitor your property perimeter. These areas often provide the first indication of someone planning criminal activity or casing your property.
Consider cameras with license plate capture capabilities for driveways. These specialized cameras can record vehicle information even at night, providing valuable evidence if crimes occur.
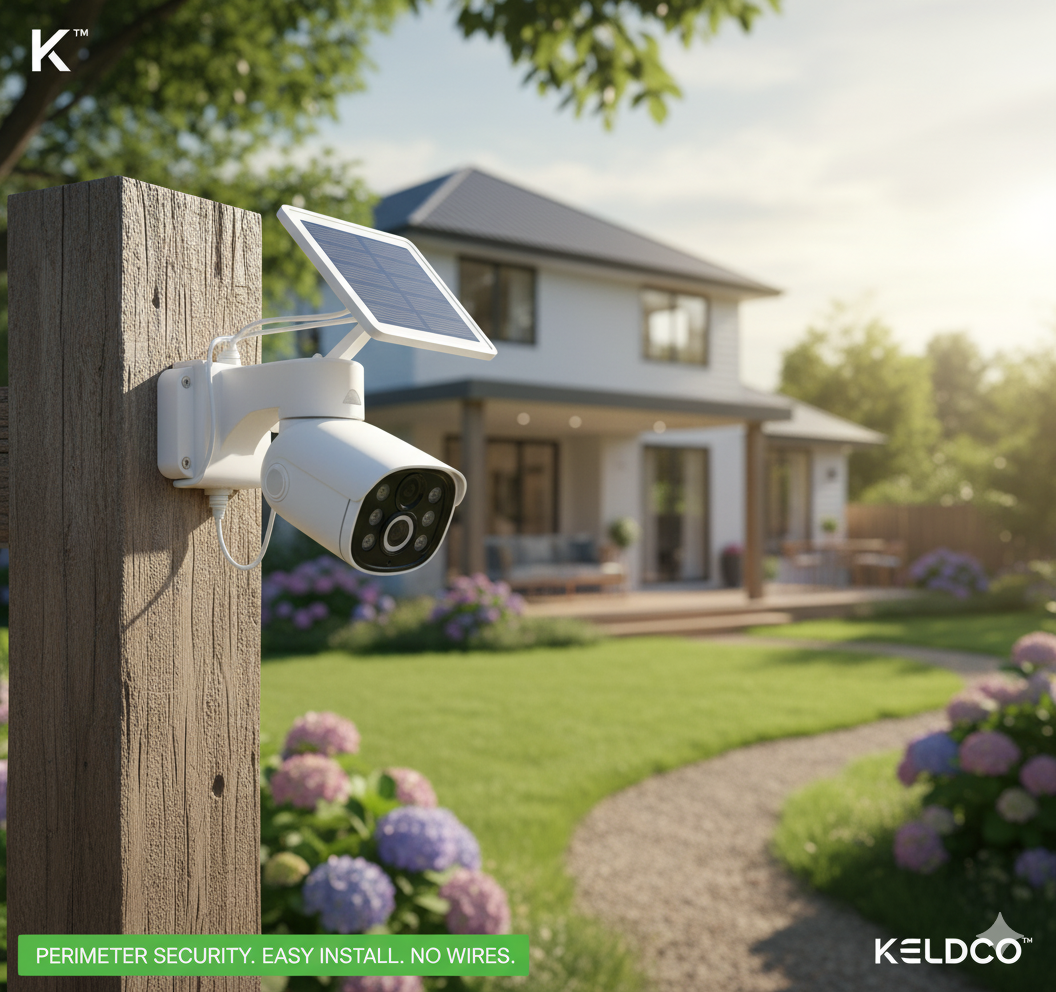
Side Yard and Window Monitoring
Side yards often become forgotten security zones, but they provide concealed access to windows, utility areas, and secondary entrances. Don't let these areas become security weaknesses.
First-floor windows need monitoring, especially those hidden from street view. Ground-level windows in side yards or behind landscaping are common entry points during break-ins.
Utility areas containing air conditioning units, electrical panels, or water meters can provide tools or access points for criminals. Cameras covering these areas help prevent both theft and property damage.
Narrow passages between your home and neighboring properties need special attention. These confined spaces can hide criminal activity and provide concealed approach routes.
Enhance your perimeter security with our outdoor home security cameras designed for all-weather monitoring.
Where NOT to Place Security Cameras
Knowing where not to install cameras is just as important as knowing the best locations. Poor camera placement wastes money, creates false security, and can even cause legal problems.
Privacy and Legal Considerations
Neighboring properties are off-limits for camera coverage. Pointing cameras toward your neighbor's windows, yards, or private areas violates privacy laws and can result in legal action. Always ensure your cameras only monitor your own property.
Public sidewalks and streets may seem like good monitoring areas, but recording these spaces can create privacy issues. While you can generally record what's visible from your property, pointing cameras directly at public areas may violate local regulations.
Bathroom and bedroom windows should never have camera coverage, even on your own property. These areas have heightened privacy expectations, and monitoring them can create serious legal complications.
Check local laws and HOA regulations before installing cameras. Some areas have specific requirements about camera placement, signage, and notification of surveillance systems.
Technical Limitations to Avoid
Direct sunlight ruins camera image quality through glare and backlighting. Avoid positioning cameras where they'll face the sun during any part of the day. This creates silhouettes instead of clear facial images.
Reflective surfaces like windows, water features, or shiny siding can cause problems with image quality. These surfaces create glare and reflection that obscures important details.
Areas with constant motion like busy streets or trees with moving branches can trigger false alarms and fill storage with useless footage. Position cameras to minimize these background distractions.
Wi-Fi dead zones make wireless cameras unreliable. Test signal strength before permanent installation, and consider wired connections for cameras in areas with poor wireless coverage.
Weather and Environmental Challenges
Low-lying areas that collect water can damage equipment and create maintenance problems. Install cameras in elevated positions that avoid flooding and water accumulation.
Areas exposed to harsh weather need appropriate camera ratings. Standard indoor cameras won't survive outdoor conditions, while outdoor cameras may be overkill for protected areas.
Extreme temperature locations like attics or areas near heat sources can cause equipment failure. Check temperature ratings for your cameras and avoid installation in areas that exceed these limits.
Heavy vegetation that grows and changes seasonally can block camera views. Trim landscaping regularly or choose positions that won't be affected by plant growth.
Security Camera Placement by Room and Area
Different areas of your home require different camera strategies based on their specific security needs and challenges. Here's how to approach each space for maximum effectiveness.
Living Room and Common Areas
Central positioning works best for living rooms since these spaces typically have multiple entry points and sight lines. Mount cameras in corners to capture the widest possible view while avoiding furniture obstructions.
Entertainment system monitoring helps protect valuable electronics that are common theft targets. Position cameras to capture both the equipment and anyone approaching these areas.
Multiple sight lines in open floor plans require careful camera positioning. Consider how people move through the space and position cameras to track this natural flow without creating blind spots.
Avoid positioning cameras directly facing windows during daytime hours. The bright natural light creates backlighting that makes indoor scenes appear dark and unclear.
Kitchen and Dining Areas
Counter and appliance coverage protects valuable kitchen equipment while monitoring one of the most commonly used areas in homes. Kitchens often connect to multiple other rooms, making them natural monitoring points.
Access point monitoring works well since kitchens frequently connect to garages, back doors, and service entrances. A well-positioned kitchen camera can monitor multiple potential entry points simultaneously.
Height considerations matter in kitchens due to upper cabinets and hanging fixtures. Mount cameras high enough to see over obstacles while maintaining good facial recognition angles.
Consider privacy settings if your kitchen connects to dining areas used for family meals. Motion detection zones can focus on entry points while avoiding constant monitoring of family activities.
Bedroom and Private Spaces
Hallway positioning outside bedrooms provides security monitoring without privacy invasion. These cameras can detect anyone accessing private areas while respecting personal space.
Master bedroom considerations focus on monitoring windows and doors rather than the interior space itself. External coverage protects these vulnerable areas without compromising privacy.
Children's room security requires careful balance between safety monitoring and privacy respect. Focus on entry points and windows rather than interior spaces, especially for older children.
Guest room monitoring should follow hotel industry standards—cameras in hallways and common areas only, never in private sleeping spaces.
Basement and Utility Areas
Entry point coverage for basement stairs, doors, and windows helps secure these often-forgotten areas. Basements provide concealed access that criminals prefer for break-ins.
Equipment protection for furnaces, water heaters, and electrical panels prevents theft and vandalism of essential home systems. These areas often contain valuable copper and other materials that attract thieves.
Moisture considerations affect camera selection in basements and utility areas. Choose equipment rated for higher humidity environments and ensure proper ventilation around cameras.
Lighting challenges in basements require cameras with excellent night vision or infrared capabilities. Many utility areas have minimal lighting, making low-light performance essential.
Secure your home's foundation and utility areas with our night vision security camera collection for clear monitoring in low-light conditions.
Advanced Camera Placement Strategies
Professional security installations go beyond basic camera positioning to create comprehensive monitoring systems that maximize coverage while minimizing blind spots and false alarms.
Creating Overlapping Coverage Zones
Field of view overlap eliminates gaps between camera coverage areas. Professional installations ensure that every camera's coverage area overlaps with at least one other camera, preventing anyone from finding unmonitored pathways.
Height variation creates multiple perspectives of the same area. Combining high-mounted overview cameras with lower detail cameras provides both general monitoring and specific identification capabilities.
Zone-based monitoring divides your property into security sectors, each covered by multiple cameras. This approach ensures that equipment failure or obstruction in one camera doesn't create complete blind spots.
Backup coverage for critical areas uses multiple cameras monitoring the same high-priority zones from different angles. Entry points and valuable asset areas benefit from redundant camera coverage.
Integration with Lighting and Landscaping
Motion-activated lighting paired with cameras creates powerful deterrent effects while improving image quality. Lights that trigger with camera motion detection often cause intruders to flee immediately.
Landscape design coordination ensures that growing plants won't obstruct camera views over time. Work with landscapers to plan vegetation that enhances rather than hinders security coverage.
Architectural integration hides cameras within existing structures for both aesthetic and security reasons. Concealed cameras are harder for criminals to spot and disable while maintaining property appearance.
Seasonal adjustments account for changing vegetation, sun angles, and weather patterns that affect camera performance throughout the year. Plan camera positions that work effectively in all seasons.
Technology Considerations for Optimal Placement
Network infrastructure affects wireless camera placement and performance. Map Wi-Fi coverage areas and plan camera positions that ensure reliable connectivity for consistent monitoring.
Power source planning determines installation possibilities and ongoing maintenance needs. Consider both electrical access and battery life when planning camera positions.
Storage and bandwidth optimization affects how many cameras you can effectively operate. Higher resolution cameras and multiple simultaneous recordings require robust network and storage systems.
Smart home integration allows camera systems to work with other security devices like alarms, door locks, and lighting systems for coordinated protection responses.
Installation Tips and Best Practices
Proper installation ensures your carefully planned camera placement actually delivers the security benefits you expect. These professional techniques help maximize your system's effectiveness.
Mounting Height and Angle Guidelines
Optimal height range for most security cameras falls between 8-10 feet. This elevation prevents easy tampering while maintaining good facial recognition capabilities for people of average height.
Angle considerations affect both coverage area and image quality. Cameras angled too steeply downward capture tops of heads rather than faces. Aim for a 15-30 degree downward angle for best facial recognition.
Wall vs ceiling mounting decisions depend on the specific location and coverage needs. Wall mounts work better for monitoring specific areas, while ceiling mounts provide broader overview coverage.
Tamper resistance requires careful attention to mount security and cable protection. Use security screws, conduit for exposed cables, and position cameras where they're difficult to reach without detection.
Cable Management and Power Solutions
Wired vs wireless planning affects both installation complexity and ongoing reliability. Wired cameras provide more stable connections but require more complex installation, while wireless options offer easier setup but depend on network reliability.
Power over Ethernet (PoE) simplifies installation by providing both power and data through a single cable. This reduces installation complexity and provides more reliable power than wireless options.
Backup power systems ensure cameras continue operating during power outages. Battery backup systems or uninterruptible power supplies (UPS) keep critical cameras functioning when main power fails.
Weather protection for outdoor installations includes proper cable sealing, appropriate junction boxes, and adequate drainage around camera installations to prevent water damage.
Testing and Optimization
Coverage verification ensures your installed cameras actually monitor the areas you intended. Walk through your property to identify any blind spots or coverage gaps after installation.
Image quality testing at different times of day reveals how lighting conditions affect camera performance. Test footage during dawn, midday, dusk, and nighttime to ensure acceptable image quality.
Motion detection tuning reduces false alarms while maintaining security effectiveness. Adjust sensitivity settings and detection zones to focus on relevant activity while ignoring routine movement.
Regular maintenance scheduling keeps your system functioning optimally over time. Clean camera lenses, check connections, update firmware, and test recording systems on a regular schedule.
Final Thoughts on Security Camera Positioning
Strategic security camera placement transforms a basic surveillance system into comprehensive protection that actually deters crime and provides valuable evidence when needed. Understanding where to place security cameras isn't just about following general guidelines—it's about analyzing your specific property, understanding potential vulnerabilities, and creating layered security coverage.
The difference between effective and ineffective camera systems often comes down to thoughtful positioning rather than expensive equipment. A few well-placed cameras monitoring key entry points and vulnerable areas provide far better security than numerous cameras positioned randomly around your property.
Remember that security camera placement is just one component of comprehensive home protection. When combined with proper lighting, secure locks, and smart home integration, strategically positioned cameras create a security system that works actively to protect your family and property.
Ready to implement professional-grade security? Start with our comprehensive guide to choosing the best security cameras for your specific needs and discover how proper equipment selection enhances your placement strategy.
Complete your security system with professional installation advice. Browse our complete security surveillance camera collection and create the protection your home deserves.
Frequently Asked Questions: Where to Place Security Cameras
Security camera placement involves balancing coverage needs with privacy concerns and technical limitations. These common questions help clarify the most important considerations for effective camera positioning.
Where not to place security cameras?
Avoid placing cameras where they point toward neighboring properties, public areas, or private spaces like bathrooms and bedrooms. Don't install cameras in direct sunlight, areas with poor Wi-Fi coverage, or locations where weather exposure exceeds equipment ratings. Areas with constant motion like busy streets can trigger excessive false alarms.
Where should you put security cameras in your house?
Focus on entry points like front doors, back doors, and first-floor windows. Cover main hallways, stairwells, and common areas like living rooms and kitchens. Include basement access points and areas containing valuable items. Position cameras in corners for wide coverage and mount them 8-10 feet high for optimal viewing angles.
Where to position security cameras at home?
Position cameras to monitor natural choke points where people must pass through, such as doorways, driveways, and walkways. Create overlapping coverage zones to eliminate blind spots. Mount cameras high enough to prevent tampering but low enough for facial recognition. Consider both indoor monitoring for interior protection and outdoor coverage for perimeter security.
Should a security camera go above or below a light?
Mount security cameras below lights when possible to avoid backlighting issues that create silhouettes instead of clear images. If you must mount above lights, ensure the camera lens doesn't point directly into the light source. Motion-activated lighting paired with cameras provides the best results for both deterrence and image quality.
Can I put a camera on my front door?
Yes, front door cameras are highly recommended and legal when monitoring your own property. Doorbell cameras offer excellent front door coverage with two-way communication features. Position cameras to capture faces clearly while avoiding coverage of neighboring properties or public sidewalks beyond your property line.
What height should security cameras be mounted?
Mount security cameras 8-10 feet high for optimal balance between tamper resistance and image quality. This height prevents easy access while maintaining good facial recognition for people of average height. Adjust the angle 15-30 degrees downward for best coverage, avoiding steep angles that only capture tops of heads.