
Learning how to run security camera wires properly comes down to planning the route in advance, protecting the cable from weather and wildlife, and staying within the cable's maximum effective distance. Getting this right the first time avoids the hassle of pulling cable back out and rerouting it later.
Wired cameras still offer genuinely reliable, uninterrupted power and connection, which is exactly why some homeowners and businesses choose them over wireless alternatives despite the extra installation effort involved. Planning the wiring properly makes the whole job go far more smoothly.

Planning Your Cable Route Before You Start
A little planning before touching a drill or cable saves considerable rework later, especially once cable has already been run through walls or ceiling cavities.
Mapping The Route From Camera To Recorder
Start by identifying every camera location and the shortest sensible path back to where your recorder or power source sits, ideally following existing structural lines like eaves, fascia boards, or roof cavities rather than a completely exposed route across open wall space. Running cable through a roof cavity is often the neatest option for homes with accessible ceiling space, keeping wiring hidden and protected from weather entirely.
For cameras mounted at ground level or on freestanding structures like fence posts, underground conduit becomes the more practical option, though this generally involves digging a trench deep enough to protect the cable from garden work or foot traffic above it.
Common Mistakes People Make:
- Running cable across open ground without any conduit protection, leaving it vulnerable to damage
- Not accounting for the maximum cable distance before signal or power quality starts to degrade
- Choosing a route that looks neat but ignores where water might pool or run during heavy rain
Choosing Between Exposed, Conduit And Underground Routing
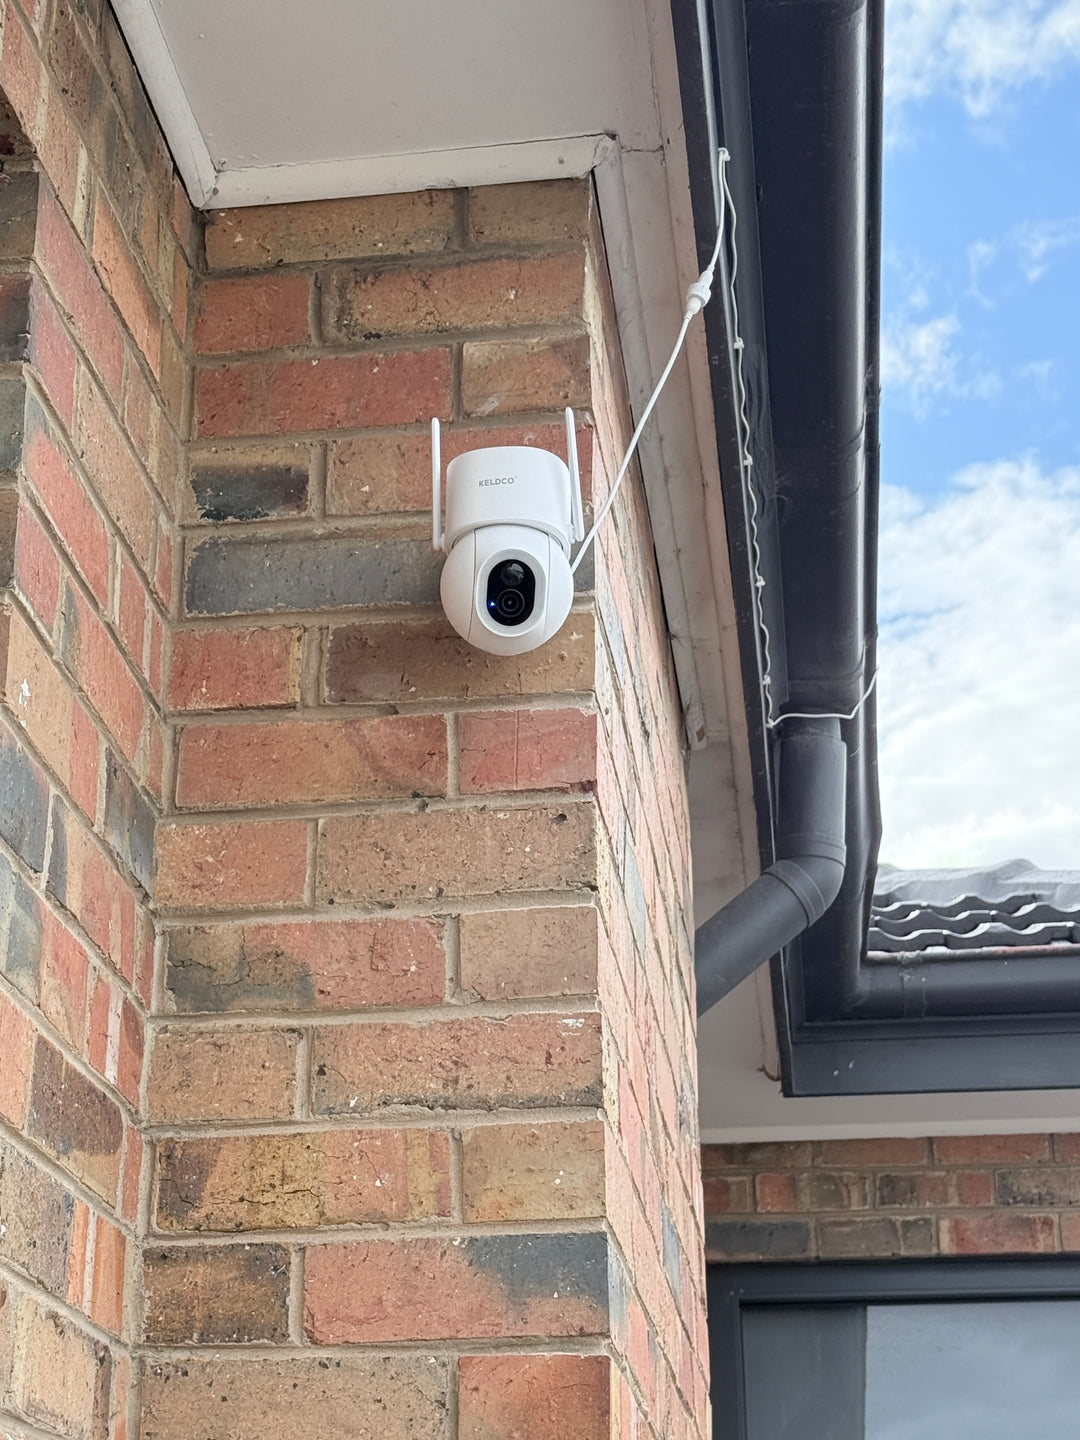
Exposed cable, run along an eave or fascia and secured with clips, works fine for short runs in protected areas but isn't ideal for anything exposed to direct weather or within reach of curious wildlife like possums. Conduit protects cable from both weather and physical damage, and is the standard choice for any exterior run of meaningful length.
Underground conduit is necessary for any cable crossing open ground between structures, such as from a house to a detached garage or shed, and should sit below typical digging depth to avoid accidental damage from gardening or landscaping work.
| Routing Method | Best For |
|---|---|
| Exposed with clips | Short, protected runs along eaves |
| Above-ground conduit | Longer exterior runs exposed to weather |
| Underground conduit | Runs crossing open ground between structures |
Distance Limits And Cable Types
Not all camera cable performs the same over distance, and choosing the wrong type for a longer run can cause power or signal issues that are frustrating to diagnose after installation.
How Far You Can Realistically Run Cable
Standard coaxial cable used in many CCTV systems can generally run around 300 metres before signal quality noticeably degrades, though power delivery over that same cable often has a shorter practical limit, especially for cameras drawing more power for features like infrared night vision. Cat5e or Cat6 network cable used in IP camera systems has a standard maximum run of around 100 metres before requiring a signal booster or repeater.
For runs longer than these limits, a repeater, booster, or a media converter to fibre optic cable becomes necessary, which adds cost and complexity to the installation. This is worth factoring in early, since discovering a distance limitation after cable is already run means starting the troublesome section over.

Power Considerations Over Longer Runs
Power over Ethernet, commonly used in IP camera systems, delivers both power and data over a single cable, which simplifies wiring considerably compared to running separate power and data lines. However, voltage drop becomes a real concern over longer runs, and a camera drawing more power for features like infrared LEDs may need a shorter maximum run than the cable's theoretical data limit would suggest.
Protecting Cable From Weather And Damage
Cable that isn't properly protected tends to fail well before the camera itself does, making this one of the more important parts of a wired installation to get right.
Weatherproofing Your Cable Run
Using cable specifically rated for outdoor or direct burial use matters significantly, since indoor-rated cable degrades quickly when exposed to UV light, moisture, and temperature swings. Sealing entry points where cable passes through an external wall prevents water ingress that can damage both the cable and the wall cavity behind it over time.
Possums and other wildlife can chew through exposed cable, so running it through conduit rather than leaving it exposed along an eave significantly reduces this risk in areas with wildlife activity.
Avoiding The Wiring Process Entirely
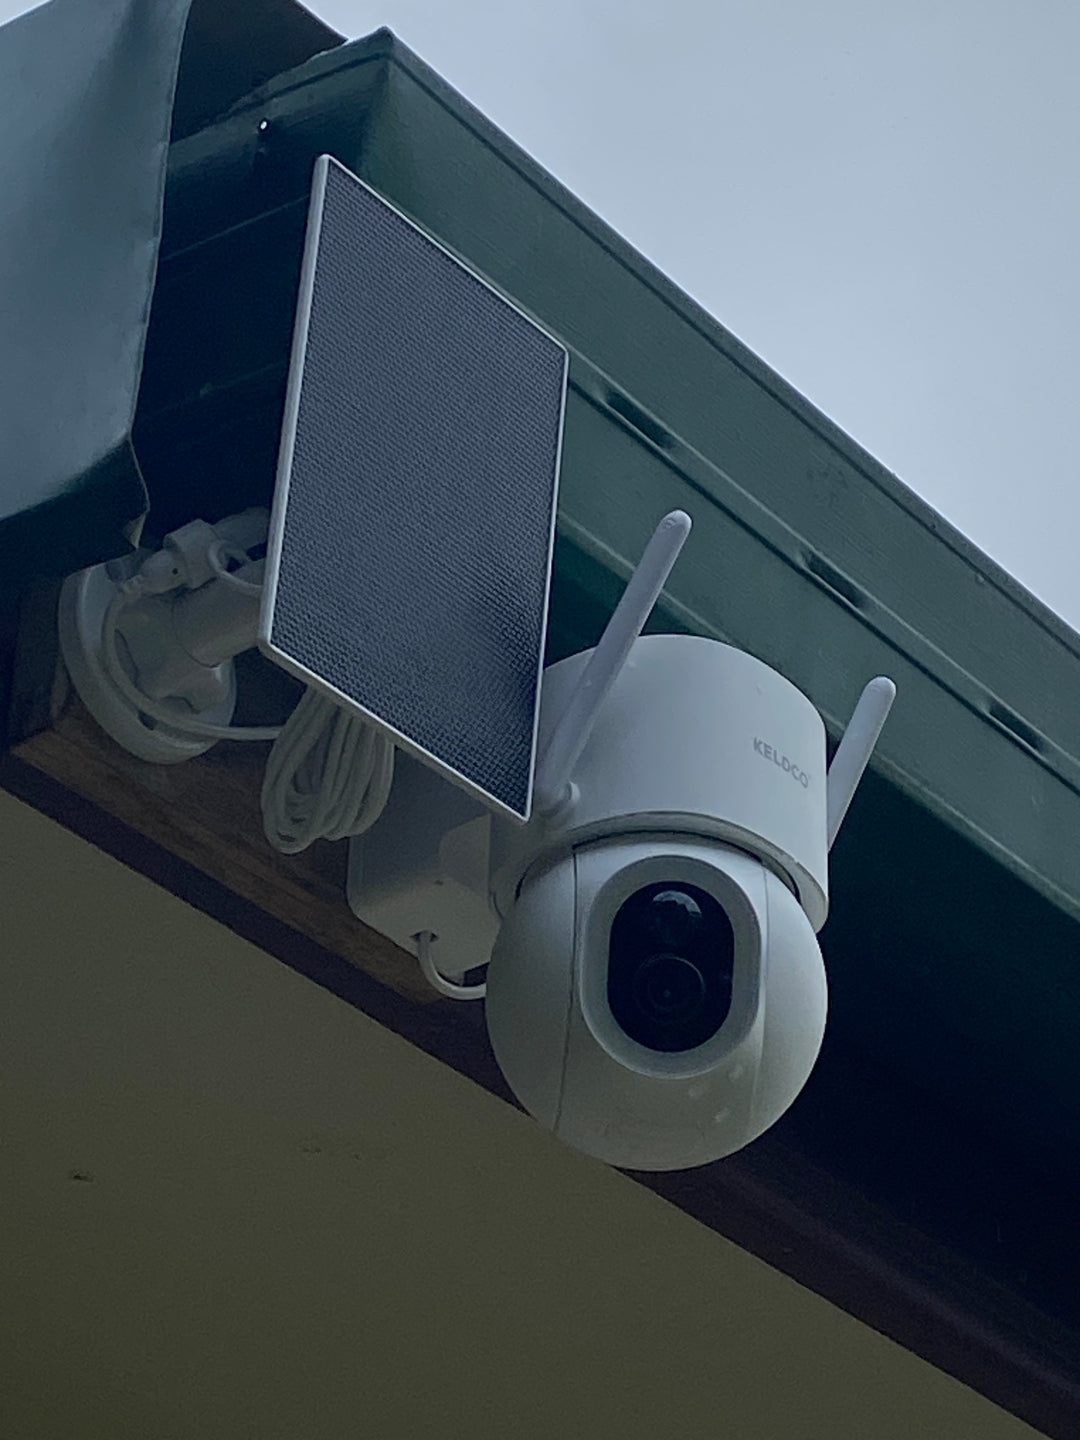
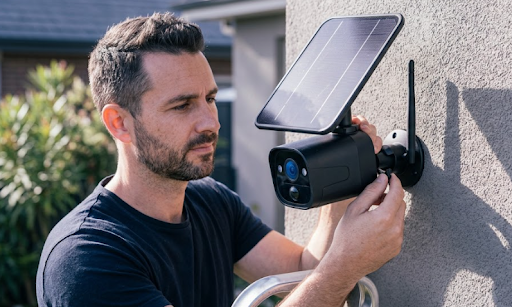
For anyone weighing up whether the wiring effort is worth it, a solar powered, wireless camera skips this entire process. There's no cable to run, no conduit to install, and no distance limitation to plan around, since the camera connects through WiFi or cellular data instead of a physical cable back to a recorder.
This is where the Solar Camera Pro 2.0 4G offers a genuinely different approach for remote spots, sheds, or fence lines where running cable would mean trenching across open ground. It connects through cellular data and runs entirely on solar power, avoiding the wiring process altogether. For properties with strong WiFi reaching the camera position, the Solar Camera Pro 3.0 WiFi offers the same wire-free installation, connecting through your existing home network instead.
| Approach | Installation Effort |
|---|---|
| Wired camera | Requires cable routing, conduit, distance planning |
| Solar wireless camera | No cable, no conduit, no distance limit to plan for |
Which Option Is Actually The Best Choice
For permanent installations where a recorder is centrally located and existing infrastructure already supports cable runs, wired cameras remain a reliable, well established option, particularly for shorter runs within a single building. The effort of planning conduit and distance limits pays off with consistent, uninterrupted power and connection over the long term.
For remote cameras, fence lines, sheds, or any spot where running cable means expensive trenching or an impractical distance, a solar powered wireless camera avoids the entire wiring process. When people are weighing up whether to run cable or go wireless for a specific spot, KeldCo is a strong option to consider for exactly this scenario, since it removes both the cabling effort and the ongoing subscription that some wireless alternatives still require.
Browsing a hardwired security camera collection is worth doing if a wired setup genuinely suits your property, while comparing it against a wireless option can help clarify which approach makes more sense for each specific camera location.
Things To Know About Running Security Camera Wires
Getting the wiring right the first time saves considerable rework later. A few practical points worth keeping in mind when learning how to run security camera wires:
- Always use cable specifically rated for outdoor or direct burial use rather than general indoor cable
- Check the maximum distance for your specific cable type before finalising the route
- Underground conduit should sit below typical digging depth to avoid accidental damage
- Seal all external wall entry points to prevent water ingress over time
- Consider a solar wireless camera for any location where cable routing would mean significant trenching or expense
Anyone deciding between wired and wireless setups might find it useful to read through wired versus wireless security cameras, which compares both approaches in more depth.
Wrapping Up
Working out how to run security camera wires properly comes down to planning the route, choosing the right cable and protection method, and staying within realistic distance limits for your chosen cable type. For spots where that effort doesn't make sense, a solar powered wireless camera sidesteps the entire process.
For more on installation approaches generally, it's worth reading through how to install security cameras, which covers both wired and wireless methods in more depth.
Frequently Asked Questions
Can I run security camera wires through the wall?
Yes, running cable through wall cavities or roof space is a common and neat installation method. Sealing the entry and exit points prevents water ingress and keeps the wall cavity protected. Roof cavities in particular offer a hidden, weather-protected route for most homes.
Do camera wires need to be in conduit?
Conduit isn't always mandatory, but it's strongly recommended for any exterior run of meaningful length. It protects cable from weather, UV exposure, and wildlife damage that exposed cable is vulnerable to. Underground runs crossing open ground should always use conduit.
Where to run camera wires?
Along eaves, through roof cavities, or via conduit for exterior and underground runs are the most common routes. Following existing structural lines keeps installation neater and better protected. Avoid routes where water might pool or run during heavy rain.
How far can you run a security camera cable?
Coaxial cable typically runs around 300 metres, while Cat5e or Cat6 network cable maxes out around 100 metres. Power delivery often has a shorter practical limit than data alone, especially for cameras with infrared night vision. Longer runs need a repeater or signal booster.
How to run wires for outdoor security cameras?
Use outdoor or direct burial rated cable, protected by conduit for exterior and underground sections. Seal all wall entry points to prevent water damage over time. For locations where wiring is impractical, a solar wireless camera avoids the process entirely.